


")
")

")


Contents
Bill of Materials
1. 3d printed STL files:
- Rollers x 4
- 10L050 Toothed Belt Pulley (10L050) – 3D printed to fit the 90ST motor shaft
- 36L050 Flanged Pulley (I used the metal pulley but a 3D printed pulley is included)
- Belt Guard (see below #6)
2. Belt – 187L050 Timing Belt
3. 10mm Pillow Blocks (KP-000) x 3 (Source: Amazon)
4. 10mm threaded rod and 20 M10 nuts (approx.)(Local Hardware Store)
5. Motor (90ST in this build) and Motor Mount (Source: Alibaba – Same store as base SFX-100 Motor)
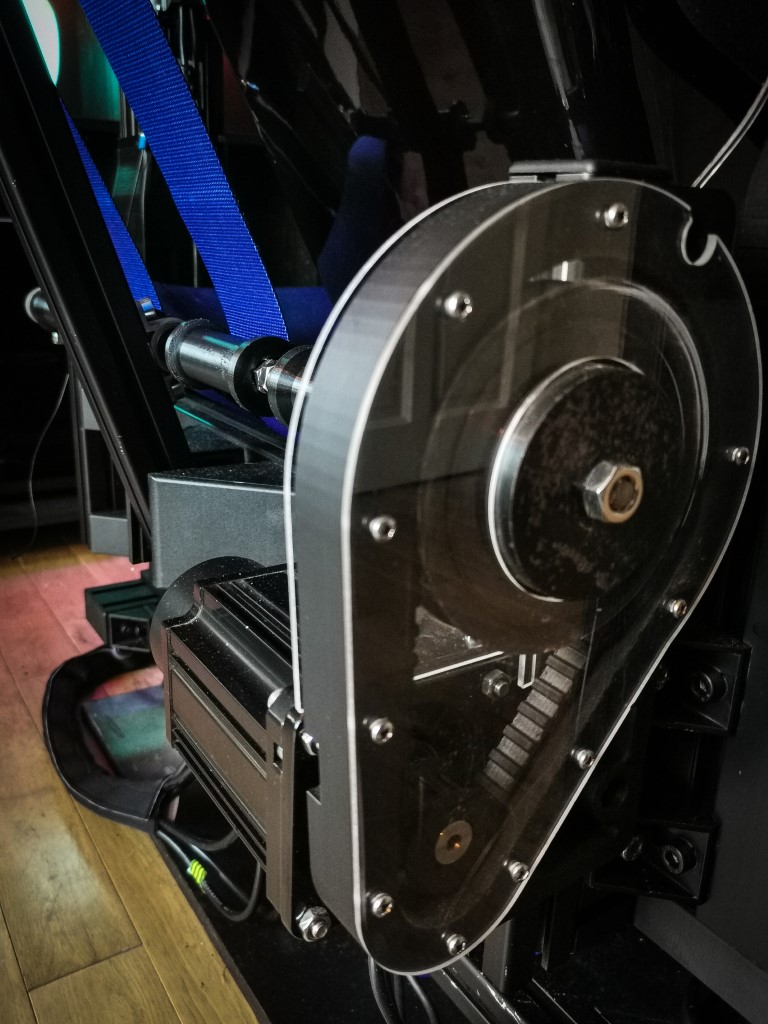
6. Belt Guard
- 3D printed belt guard with two 3mm Acrylic covers each side.
- 14 No 3.5 x 16mm button head screws to screw Acrylic to 3D printed guard.
- Bolts – 4x M5 x 90mm (Main Rollers) to fix belts to the rollers. Smaller side rollers use a M5x85mm bolt, 90mm will not work for the small roller option.
7. Profiles
- 3 x 320mm 40×40 8 slot (Source: Motedis.com)
- 1 x 720mm 40×40 8 slot (Should be longer if seat is above rig. My seat is supported in between main profiles.
- 8 x profile support brackets and covers: https://www.motedis.com/en/Bracket-40-I-Type-slot-8?products_id=98
- 2 x extended profile support brackets and covers: https://www.motedis.com/en/Bracket-80-Slot-8-10
- Standard T-nuts and M8 bolts.
3D Printing
The 3d printed components include:
- Main Roller x 4
- Side Roller x 2 (Optional instead of 2 main rollers for the side belts)
- Belt Guard and Covers. (The covers can be cut from 3mm acrylic instead of 3d printing if preferred).
- Motor Pulley
- Large Pulley (not tested)


WP 3D Thingviewer Lite need Javascript to work.
Please activate and reload the page.
Assembly
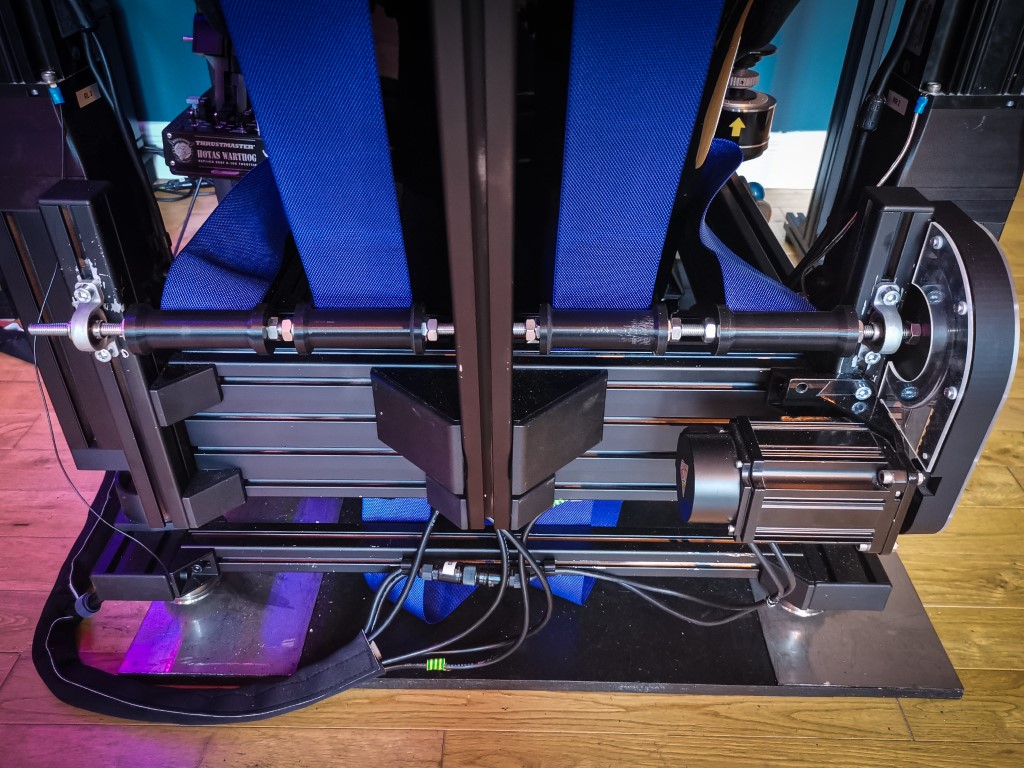
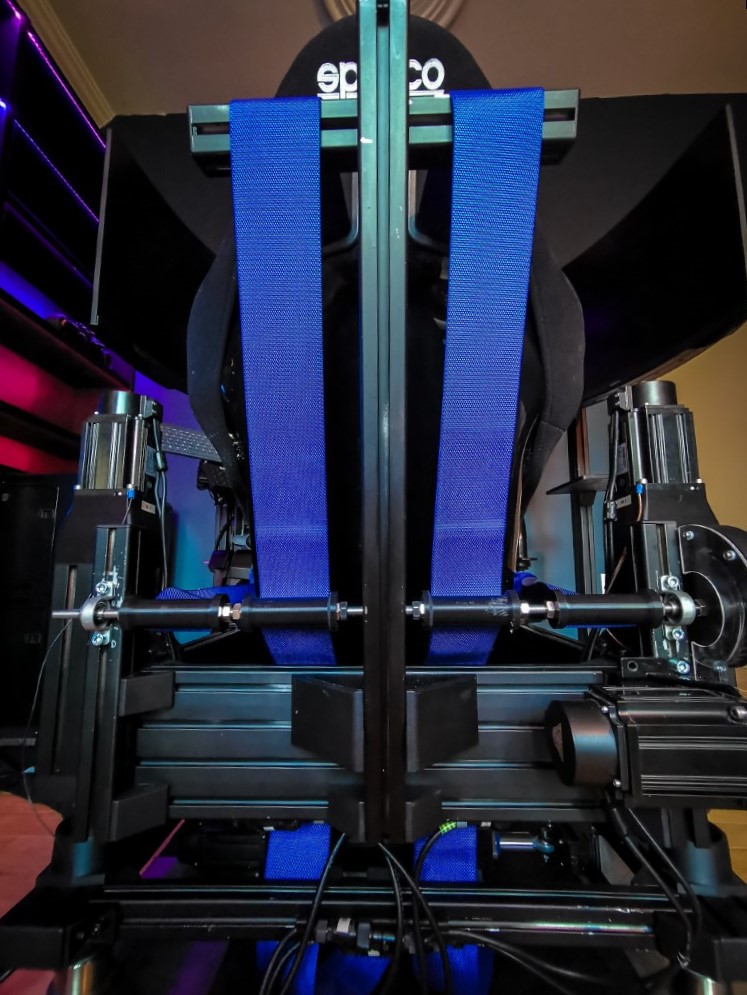
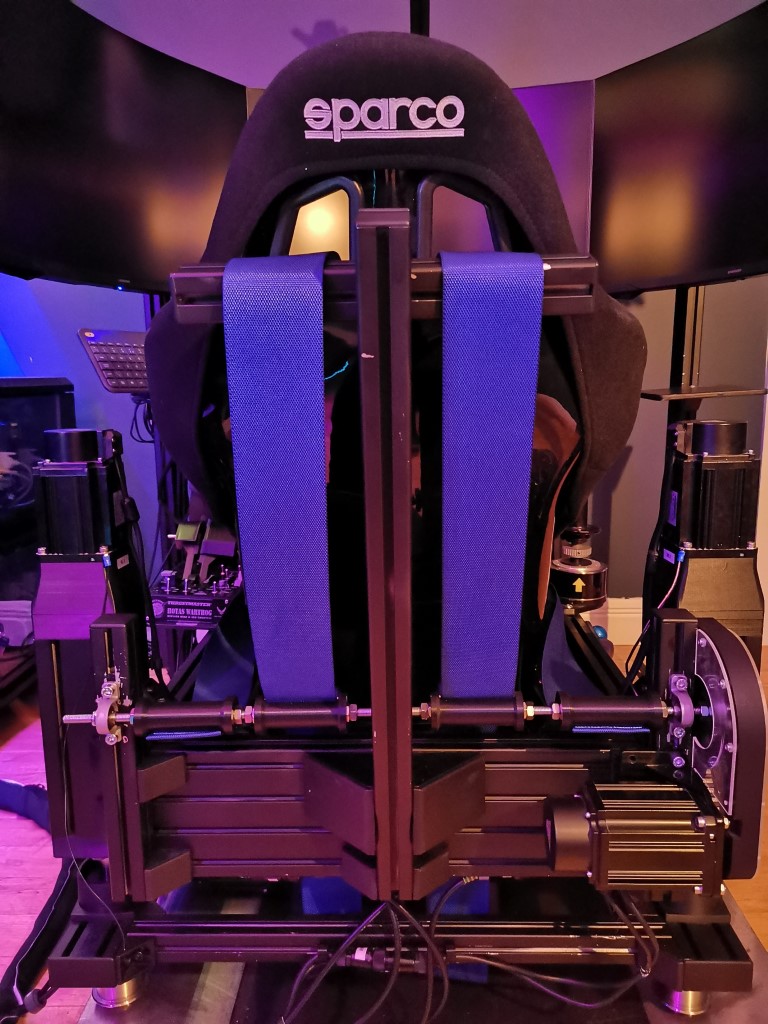
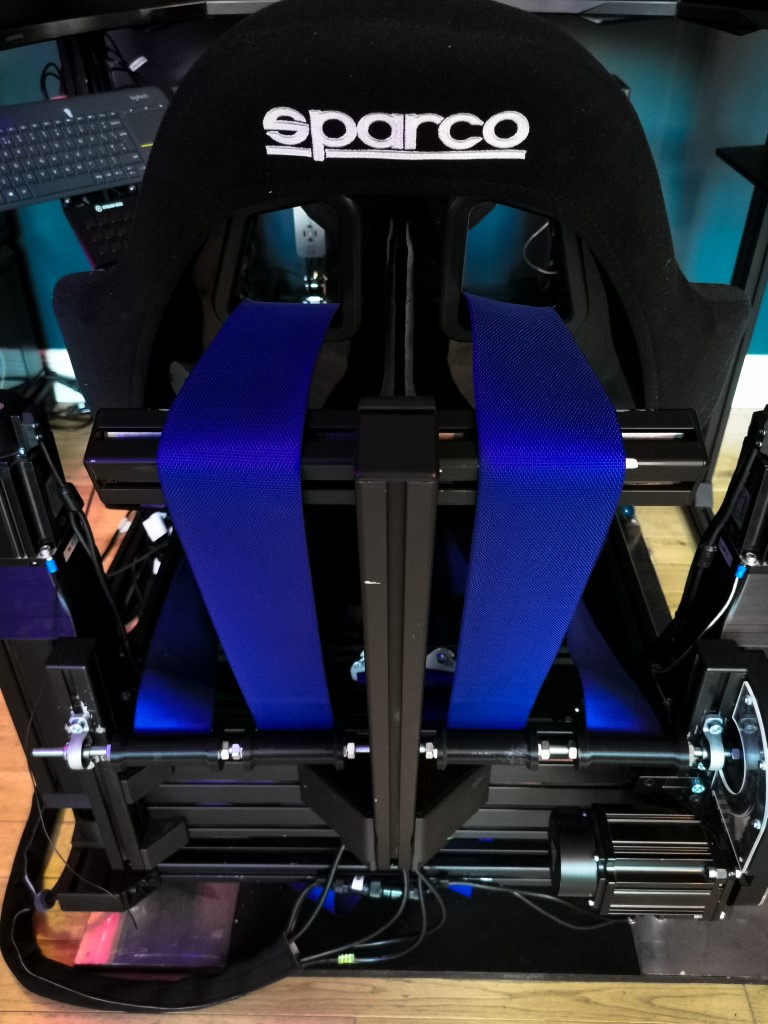
Assemble the two 320mm long profiles to the outside edges of the rig and the inclined profile in the centre using the extended profile support brackets on the top, and typical support brackets on the bottom as shown in the pictures to suit your seat size.
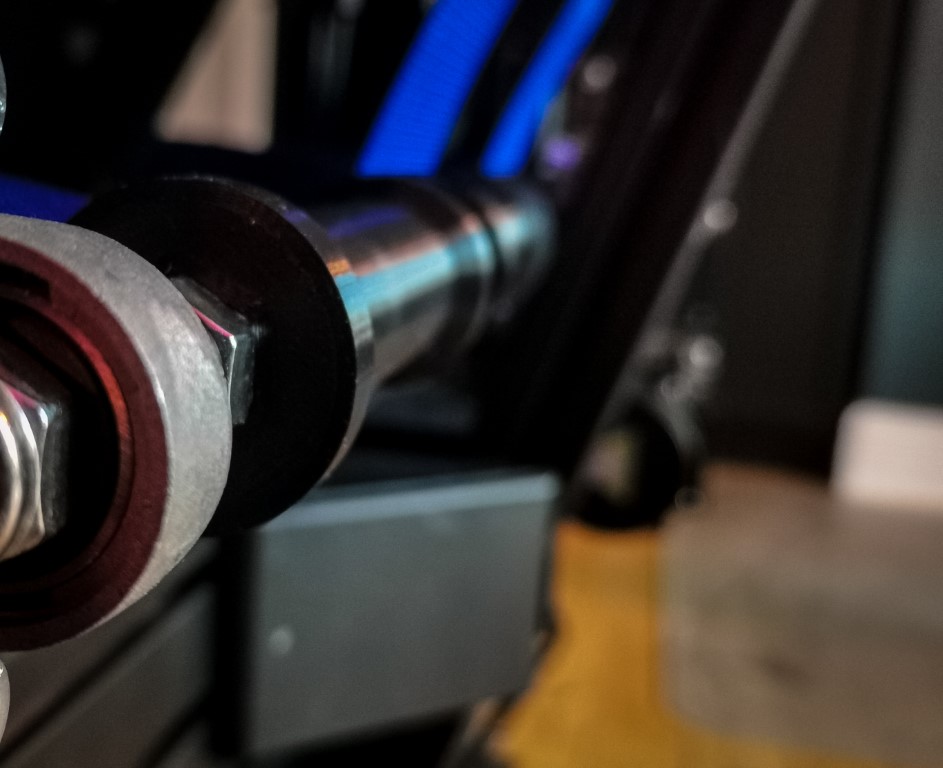
Place all of the nuts into the rollers and screw them onto the threaded rod with the support bearings. Orientate the rollers with the bolt that fixes the belt to the inside for the inner 2 rollers, and to the outside for the outer two rollers. This gives more clearance when inserting the bolt. Add the long bolt into the roller as it is being placed onto the threaded rod because there will not be space to add it when all rollers are installed. Ensure the threaded rod turns without resistance when all bearings are tight on the three profiles.
The rollers are locked from rotating by tightening opposite nuts on each side of the main rollers (4 nuts total per roller). If using the smaller side rollers these are secured with 3 nuts per roller. These can be left loose until you are ready to install the belts. Continue with the pulley and motor install and come back to fix the belts at the end of assembly.
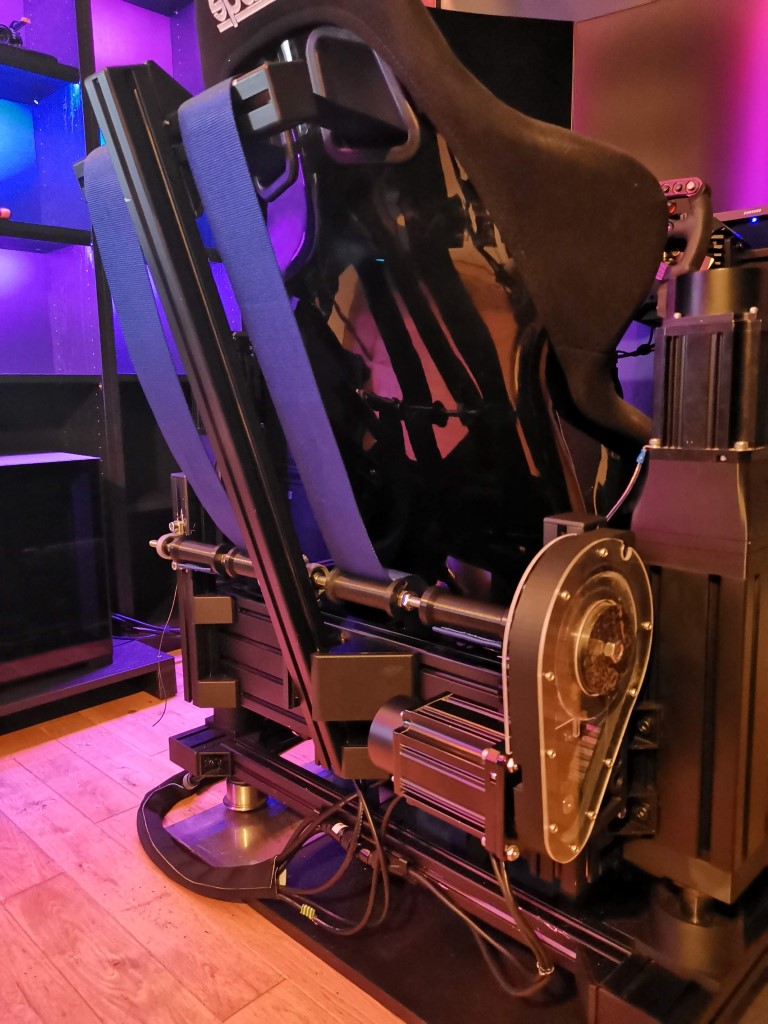
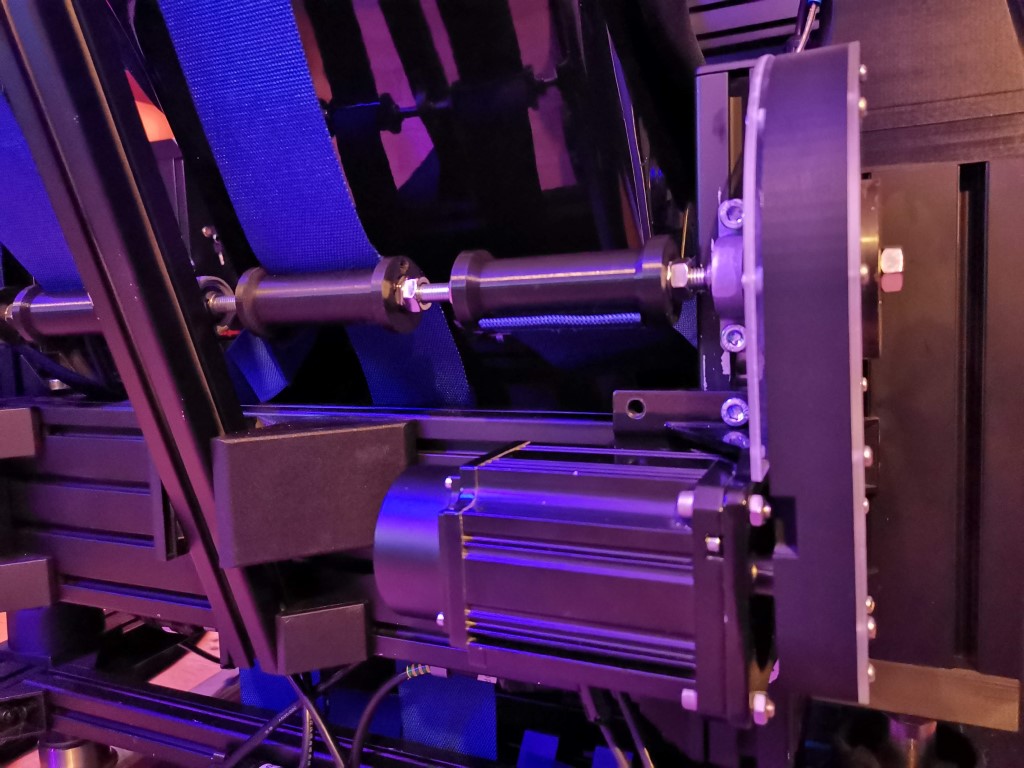
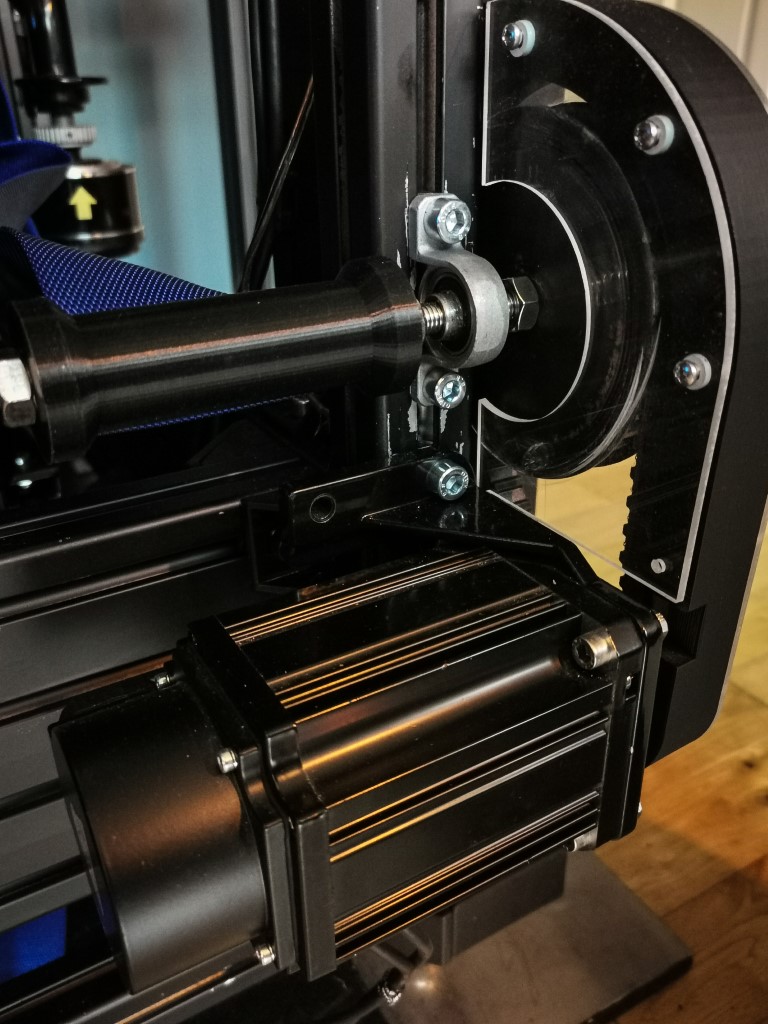
Then connect the large pulley with nuts each side, then mount the motor and motor pulley and belt. Slide motor along profile to get the correct tension before fixing.
Place the guard over the belt pulley assembly and test that there is no rubbing on the belt guard covers. If it is easy to rotate and there is no rubbing on any parts, fix the threaded rod to the bearings using grub screws or/and end nuts.
Fix the belts to the rollers by sliding the belts in sideways with the bolt 3/4 into the roller. Push the bolts into the holder side and rotate to secure. Remember that the SFX-100 controller will rotate the belt on start up so they will be loose at this stage. It may take a couple of attempts to get the belt tension right, especially if your belts to not have tightening buckles like my side belts.
Servo Parameters
These parameters need to be adjusted to suit a belt tensioner; these are the parameters that I use
P8 = 150 (Motor Torque – Start at 40 and adjust until you can still pull the belts loose through the motor torque. Use 75 if only using shoulder belts)
P9 = -150 (Motor Torque – Start at -40 and adjust until you can still pull the belts loose through the motor torque. Use -75 if only using shoulder belts)
P51 = 500 (RPM)
P97 = 1 (0 – Turn Clockwise, 1 – Anti-clockwise)
P98 = 8 (This controls how much the shaft rotates – Usually 2, but multiply 2 by the pulley ratio (1:3.6 ratio = 2 x 3.6 =7.2) – I used 8. This parameter also controls how much the shaft rotates on start-up.
P109 = 1 (smoothing: 1 = fixed smoothing, 2 = s-shaped smoothing)
P110 = 30
P113 = 20 (Feedforward %)
P114 = 10 (Feedforward Filter Time in ms)
P115 = 100 (Position gain %)
Profile Settings

The image above show the belt tensioner settings. Follow the steps below to set it up:
- Create a new profile for Belt Tensioner
- Assign the controller ID to 2. (The controller ID 1 will be your main SFX-100 controller.)
- Assign the motor for the belt tensioner to the Type. My motor is motor 3.
- Assign the telemetry key to LongAccel.
- Min position is 0 as the belt only pulls in one direction. I have used a max position of 100, this controls how much (distance) the belt will pull. You do not need to use 100 straight away by controlling your blue line graph to something smaller first and slowly increase as needed.
- Min Telem is 3 which equates to 3g of force, there are not many cars which have more that 3g of braking force but this can be viewed under braking for your specific car by turning on real-time data.
- Max Telem is 0 because you don’t want any movement under acceleration.